gmsaas 1.7.1 is out!
Main changes: fix gmsaas when system temp directory is mounted on a separate partition. For more details, check the release notes.
Main changes: fix gmsaas when system temp directory is mounted on a separate partition. For more details, check the release notes.
We are delighted to announce that Android 11 (x86) image has just been released for Genymotion SaaS! And with it, brand new default recipes have been added: Custom Phone – Android 11 Custom Tablet – Android 11 Google Pixel 3a – Android 11 Make sure to check it out on your Genymotion SaaS dashboard!

On January 19th we hosted a webinar with Oracle Cloud: we discussed mobile test automation strategy, and our teams did a detailed demonstration of how to use our Cloud devices based on Arm in the context of test automation. Our virtual devices have been available on Oracle Cloud for about 6 months and we’re receiving great feedback about how it’s helping our customers test at scale, while optimizing lead times and reducing cost. Arm virtual devices are best suited to offer a native experience to Android dev & devOps teams, and there has been a quick adoption of the product with also a few users switching from x86 cloud devices to Arm devices. To get to know more about the advantages of implementing on the same architecture through the use of Arm-based emulators, and to follow step-by-step a demo of the product, you can now watch the webinar recording: Webinar Recording And stay tuned for more tutorials and webinars!
You may have heard of the Log4j security vulnerability and you have concerned whether it impacts our products ? ? Well, don’t worry! We confirm that none of Genymotion Cloud products, SaaS or Device Image, are impacted by this vulnerability ✅
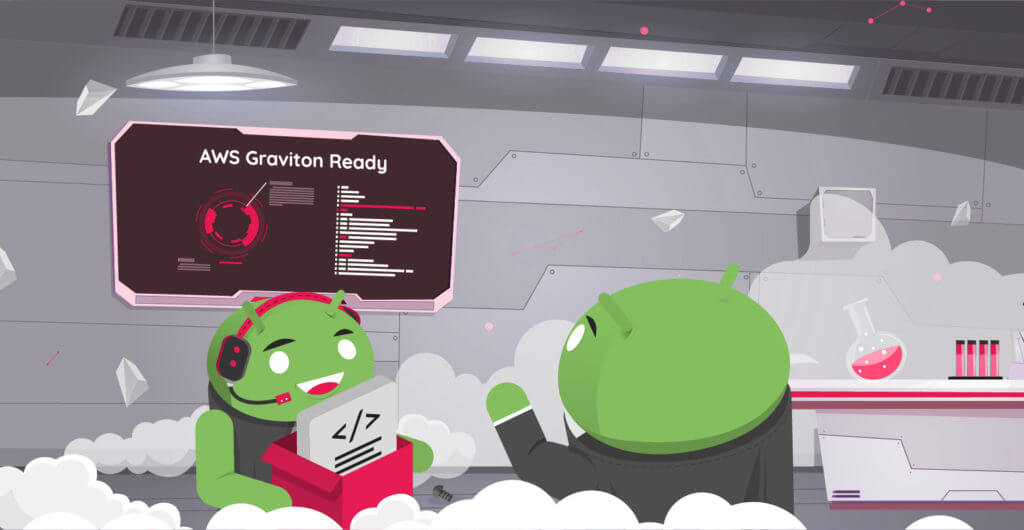
A year ago, and after 4 years of successful cooperation with AWS already, we launched our first Android 8.0 Virtual Devices on an ARM Graviton instance. Since then, we have added Android 7.0, 9.0, 10.0 and 11.0 and ramped up our offer. And today, we achieved the AWS “Graviton Ready” status, a technical recognition that our solution is fully following AWS best practices in terms of architecture, software robustness, reliability and customer success. In short… we’ve got a great product! At this occasion, we want to thank the numerous users who have adopted and extensively used Genymotion on Graviton since last year, hence contributing to demonstrate to the AWS team the value of our solution. Usage growth as well as positive feedback has meant a ton to us, but also for our partners at AWS. Haven’t tried Genymotion on Graviton yet? Now that you know we’re bullet-proof, it’s time! So what’s in there? First, you probably know it, we’re a suite of Android Virtual Devices, in the Cloud. On AWS, you can start and stop as many devices as you want in parallel to run and automate Android tests; devices can be controlled through ADB, AWS API and ssh access, which means you can virtually use it for any use case – the only limit is your imagination! Now, Graviton! Genymotion on ARM instances means you are working with a native Android environment, eliminating the need for translation tools. With better compatibility and reduced complexity, you spend less time making things work, but also enjoy better performances, which ultimately means a lower price. Want to check it out? Easy – All versions are self-service and get a free trial! Get Started Choosing Genymotion means getting access to an ever-evolving suite of Android Virtual Devices which is keeping up with market trends at the speed of light; we thrive to deploy new versions of Android as quickly as possible, as well as make our devices available on the latest AWS instances, to offer our customers the most advanced solutions on the market. Stay tuned! AWS just released its first NVIDIA GPU-accelerated Arm-based instances, and we’re already working on it!
We are pleased to announce the release of Genymotion Desktop 3.2.0, our Android emulator for Windows, macOS and Linux. This article presents the most notable changes for this release. GPX replay Genymotion Desktop has been able to simulate GPS coordinates for a long time, but manually moving your virtual device around the world gets tedious really fast, and usually does not result in realistic movements. With Genymotion Desktop 3.2.0 you can now replay real-life movements recorded in GPX files. This new feature makes it easier for you to debug your GPS-enabled application, or whatever idea you come up with which requires simulating the realistic movement of an Android device (we’d love to hear what you are using this feature for, by the way!) Recorded GPX traces can be long to replay, but Genymotion Desktop GPS widget comes with two handy features to go right to the interesting parts of a trace: First you have adjustable replay speed, from 1x to 5x. Second, a slider lets you fast-forward or rewind back to the portion of the trace you care about. OpenGL ES 3.0 We now support OpenGL ES 3.0, so you can run more games or GPU-intensive applications! Real multitouch support If you have a touch screen, you can now send proper multitouch events, including gestures like pinch to zoom. You can now get creative with drawing apps: Material facelift The Player user interface has received a Material facelift, giving it a more modern appearance. We hope you like it! OpenGL accelerated GPS map widget The GPS widget map now uses OpenGL for rendering: maps are now crisper, zoom is smoother, and texts are always correctly oriented. Simplified tool integrations Genymotion Desktop comes with gmtool, a powerful device management command-line tool, but until now all its command required a license to use it, making it a no-go for tool integrations. This means that to integrate Genymotion Desktop into your tool, you had to parse VirtualBox command-line tool output, filter out non-Genymotion virtual machines, and use internal commands to start a device. That is tedious and could prove unreliable. With Desktop 3.2.0, we lifted some of the restrictions on gmtool, making it possible to use it to list, start and stop virtual devices, even for users without a license. This should make it simpler for everyone to integrate Genymotion Desktop in your favorite tool. By the way, did you know that there are Genymotion Desktop plugins for Android Studio, Eclipse and VS Code? There is more You can find all those changes and a few others in Genymotion Desktop 3.2.0 release notes. Get it Download Genymotion Desktop 3.2.0 now!
Ensuring the best time performance for our users has always been a major focus for the Genymotion team; in fact, we’ve created Android Virtual Devices in the Cloud precisely because they allow better time performance over physical devices, at a lower cost, in most cases. In this line, we’re introducing for the first time our version of Genymotion Android 8.0 Virtual Devices on ARM Graviton instances on the AWS Marketplace. The AWS Graviton 2 ARM instances are seeing up to 70% better time performance, so we were obviously very keen to deploy Genymotion on them. But there’s more to it; it’s not only about the economics. Indeed, since Android is originally built on ARM, providing the ability to execute native Android applications without the need to install binary translation tools will recreate a native user experience of Android and therefore is excellent news for all Android developers and QA engineers. With Genymotion on the new AWS ARM instances (M6g), developers will enjoy: – Lower price, for up to 70% better performance as x86 – Native Android experience: no need to install ARM translation anymore – No nested virtualization for best performances – Ability to spawn both x86-64 or ARM-64 instances – Available on AWS EC2 and fully compatible with the entire AWS ecosystem As usual on AWS, it’s self-service and there is a free trial, so please test it and let us know what you think! Start my free trial! New subscriber? Get 50% off Genymotion on AWS through the end of the year by requesting a private offer.
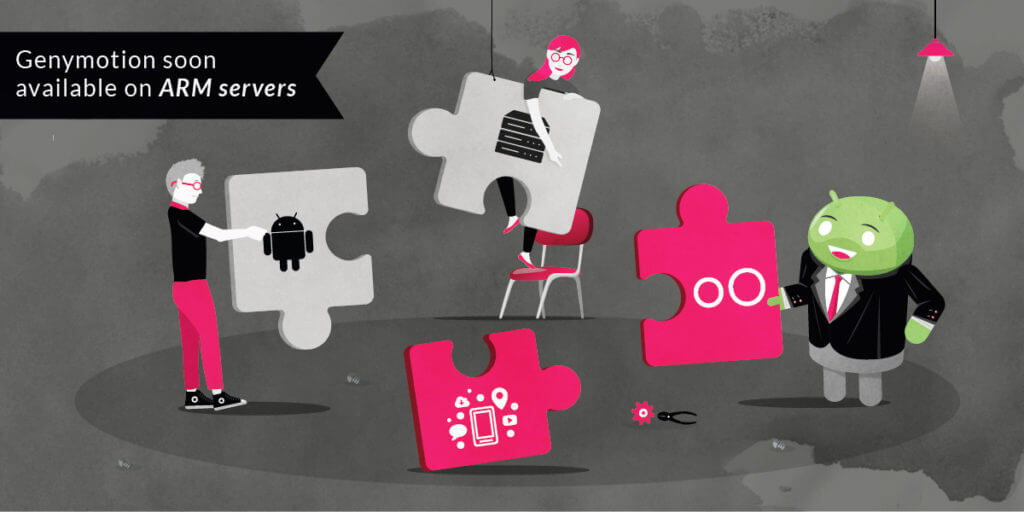
Genymotion is happy to announce that our Virtual Devices will be available on ARM-based servers this year! Android teams will be able to seamlessly develop, test, and deploy applications on the same processor architecture as their ‘target’ mobile processor SOC, eliminating the need for cross-development and translation of x86 and Arm instruction sets. Through enhanced compatibility compared with x86 servers, both developers and DevOps / QA teams will benefit from: – Higher performance – Lower complexity Which in turn will reduce costs and speed time-to-market. More specifically, Android teams will be able to cover more code with more tests on virtual devices running on native Arm processors, reducing the testing time required to push to production. Currently, we are seeing as much as three to five times higher density and higher streaming quality on this generation of ARM-based servers. Android In the Cloud (AIC) is hence a natural workload on ARM-based servers to showcase the benefits of ARM processors with no requirement for recompilation or translation of the software. We’ll keep you posted as our first Virtual Devices get published on ARM, and as usual, are looking forward to hearing your feedbacks! Here is our full Press Release.
During these times of isolation, we all face the challenge of remote and isolated working. One of the challenges we face is the differences between everyone’s technical setups, at home and at the office. Genymotion is an Android virtual devices platform that can be used both as an Android In the Cloud (AIC) and as a desktop software. Its unified technical stack and user experience ensures seamless collaboration between team members, and ability to work from anywhere in the world. Most Genymotion users know the desktop version of Genymotion, but did you know that Genymotion is not just a brand with different products? It is actually a platform that allows users and organizations to centralize and share their Android virtualisation needs. Your usual Android work environment Even when respecting good practices and standardized environments, it is hard to control everyone’s variation and deviation. In the case of Android applications development and testing there are a couple of challenges. Let’s first identify the different environments that should be standardized: Local testing environment: virtual devices or real devices, on or connected to a developer’s environment (i.e: computer). Continuous Integration environment: continuous testing and more generally all forms of hook based process (like post commit hooks). QA environment: testing frameworks and tools that are executing tests written by QA engineers or generated by click and record tools in a virtual environment for checking before being pushed to CI environment Collaboration environment: specific use cases need to bring the standardized environments they use to their remote workers or customers: support center / help desk, Android app demo, training on Android apps All these environments have in common the need for a unified, centralized distribution of the devices. While Genymotion cannot help with real devices yet, it can definitely solve most of the issues related to collaboration in a virtualized environment. Now it’s time to see how. Your standard environment with Genymotion Cloud First step is to go to Genymotion Cloud. Make sure you created your free account. The free account comes with 60 minutes of virtualisation, which is more than enough to test everything we’ve suggested in that article! Device creation When you log in, you are taken to the “Default templates” section of the cloud app. This is where you will find all the default templates for new virtual devices. The section you are really looking for is the “Templates” one. This is where your own virtual devices templates are organized. Let’s see how we do that. First take a default template, I’ll choose a Google Pixel 3 XL on Android 9. Spin that device by clicking the contextual menu (the 3 dots) and “Start”. Once it’s booted, you can install apps or upload files by dragging and dropping them on the virtual device, you can choose to install the Open GApps through our dedicated widget, etc. In short: you can prepare the device for the task ahead and make it ready to share. When you are satisfied with your virtual device, save it! Use the “Save as” menu entry from the contextual menu. Give it a name allowing easy identification from your team. From here, we have a couple of options to share our virtual device. Live sharing Starting with the most obvious one: live sharing your virtual device. This feature is suitable for demo (at the end of a sprint), live debugging or brainstorming, for support centers, etc. It allows you to immediately share a web access to your virtual device through a live session. To start a live session click on the “live session” button in the contextual menu. When in a live session the UI changes and lets you invite people across (or outside of) your organisation. All of them will be able to interact with your virtual device, making it a great tool for sharing and reviewing projects. It is also extremely helpful with support centers and training centers. To stop your live session just click the “stop” button. Template sharing Template sharing is the swiss army knife of collaboration. Sharing a template is extremely simple as it is built into the platform. Once a virtual device is created use the contextual menu to share it with team members. The sharing screen allows you to invite others to use your virtual device. Once invited they can access the VD through a dedicated link automatically sent by the platform. A word of advice though: be careful with sharing the link to a device while on a metered plan as the shared resources count as your usage (i.e eat your minutes). You can think of a VD on Genymotion Cloud as a Google Drive document: it’s yours but you can share it with others. The owner is the only one that can save changes into the template. You might wonder how is that related to Genymotion, the desktop application. Well, your freshly shared template is immediately available in the desktop application to you and the people you shared it with! To access it simply click the device creation button (big white plus sign in a pink circle), and look for the sharing source. From here, just select the desired template and click Next. The template is obviously fully customizable. Boot up the device and voilà! You have exactly the same device both in the Cloud: And locally: Of course all of these devices can be interacted with through the gmsaas command line tools. Their usage is similar and they allow for the same kind of operations. They allow for simple sharing and integration with all sorts of other platforms or tools, including: – Most popular IDEs: Android Studio, Unity Editor, etc. – Continuous Integration tools: Terraform, CircleCI, Bitrise, etc. – Automation testing frameworks: Appium, Espresso, etc. – Docker Moreover thanks to our own implementation of ADBcloud, your cloud instances can access your protected / private infrastructure in a fast and secure way. This allows for development and testing to take
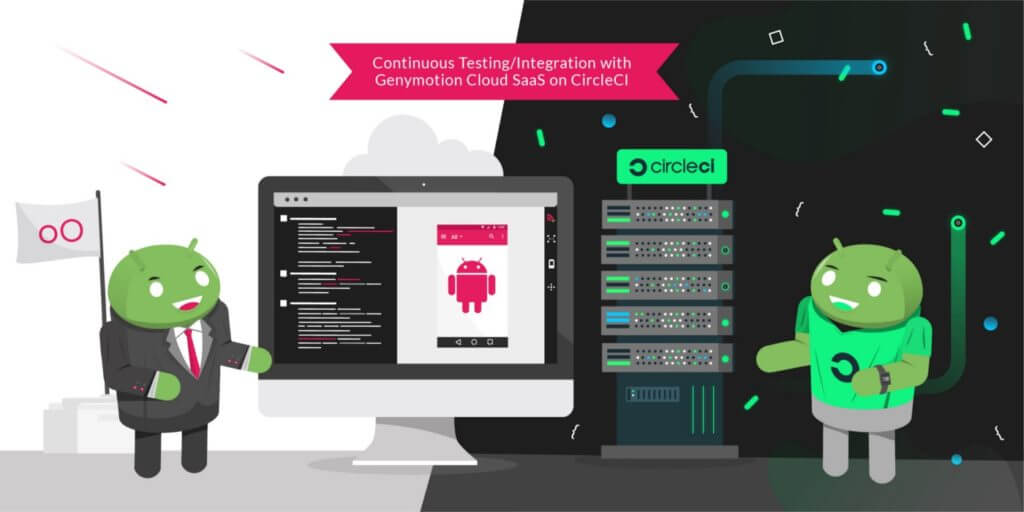
We are glad to announce that Genymotion Cloud SaaS is now available to Circle CI users for continuous testing! Efficiently testing mobile apps at every stage of the application lifecycle is challenging, even more with Android fragmented market. Many companies are adopting tools to help them create, automate and orchestrate tests on mobile devices. Among them are continuous integration and deployment (CI/CD) tools. Having a CI tool isn’t enough, we also need devices to run tests on. By partnering with CircleCI, we help providing the full continuous integration workflow. Genymotion Cloud SaaS provides Android virtual devices on the Cloud with various configurations and Android versions. CircleCI is a cloud continuous integration server to help teams get faster builds, shorter feedback lifecycles and simplified pipeline maintenance. The integration of Genymotion Cloud SaaS is now available on CircleCI as an Orb, so QA engineers can now easily integrate Genymotion Cloud in their test cases on CircleCI and reuse jobs, commands and executors to run their test on chosen devices. Please check out our complete tutorial for a step-by-step description of how to run your tests on our Android virtual devices within CircleCI!

