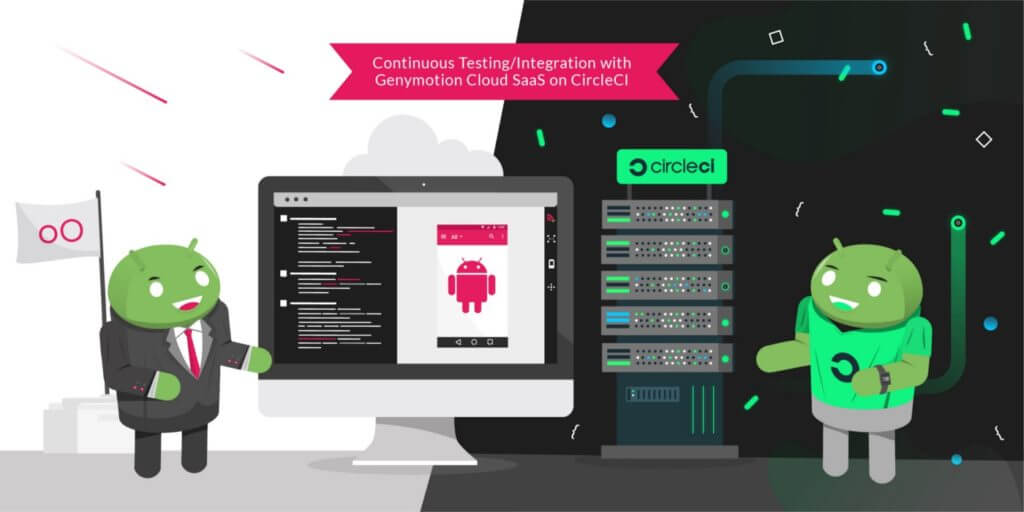
Written by Ellinor Kwok – Product Marketing & Pre-Sales at Genymobile Intelligently provisioning and deprovisioning entire workloads on demand is challenging in cloud computing. Being able to automate these as much as possible on Virtualized Operating Systems – on cloud platforms such as Amazon EC2 (AWS) – helps you achieve this. Virtualized Operating Systems available are Linux, Windows… But since the rise of mobile applications, no one has been able yet to offer a professional cloud solution that could automate cloning and scaling a virtualized Android Operating System. Genymotion on-Demand is exactly that, a fully functional Android Operating System available on Amazon EC2. You will be able to configure your Android instance once and – thanks to Amazon Web Services tools – automate the roll out on the fly as needed. Managing the load-balancing will be quite easy and straightforward. That is what we will see in this tutorial which fits many use cases such as apps benchmarking, online advertising of mobile applications, mobile application security threat detection. Typical workflow Set up You first need to prepare your Genymotion Android EC2 instance by installing your application and any application dependencies needed (for example Google Play Services, modifying settings…). This will be the pre-configured virtual device that you will use for all the automation process. Configure everything you need that won’t change in your instance so you do it only once. Clone Once you are done with the configuration, you need to clone the instance by creating a snapshot of the device. Use Then you will be able to automate the creation and start new already pre-configured instances. In this blog post we will focus on how you can automate the use of an already pre-configured instance. Let’s see how to automate an instance lifecycle using AWS APIs Amazon Web Services provide APIs to help you automate the lifecycle of an instance. You can choose your favorite programming language (Python, Java, Ruby and more…). There are SDKs for that. We will focus on using AWS Command Line Interface (CLI). Here are the prerequisites: • An AWS account with your Access Key ID and Secret Access Key and key pair (key.pem) to access to the instance • AWS CLI tool installed Use aws configure to quickly configure it. It will prompt you to fill your Access Key ID, Secret Access Key, your default region and output format. Please refer to the quick configuration guide for more information. Use AWS APIs to handle the lifecycle of instances In this section, I will list some useful commands you’ll need for automation that we will later use in the demonstration. 1. Create a snapshot of an instance aws ec2 create-image –instance-id <instance_id> –name <name> • <instance_id> is the id of the pre-configured instance • <name> is the name of the snapshot 2. Create an instance from a pre-configured AMI aws ec2 run-instances –image-id <ami_id> –count <number> –instance-type <instance_type> –key-name <key_name> –security-groups <security_group> • <ami_id> is the AMI id of the snapshot instance • <number> is the number of instances you want to create • <instance_type> is the type of instance e.g t2.medium • <key_name> is the name of the key pair • <security_group> is the name of the security group MORE OPTIONS 3. Start an instance aws ec2 start-instances –instance-ids <instance_id> • <instance_id> is the instance id you want to start 4. Get information from instances aws ec2 describe-instances –instance-ids <instance_id> • This command is useful to get the instance IP address once started 5. Stop an instance aws ec2 stop-instances –instance-ids <instance_id> • <instance_id> is the instance id you want to stop Here’s what it gives put into practice Now that you are familiar with the main AWS commands, let’s illustrate a use case we identified: security. Let’s code a script that will automate the creation of a pre-configured instance and install a third-party application that would be scanned for threats. Configure Genymotion On-Demand You need to first start an instance. Please refer to the product access page on how to do it. Once your instance is started, you need to configure it. For example, you would need to install Google Play Services, change or disable the authentication, lock an application… Please refer to Genymotion On Demand’s tutorials. You can connect to the device through SSH to change those settings. You need to enable adb as well as we will use it to install third-party applications. Clone the Android instance Once you are all set with the configuration, you need to clone the instance. Once the snapshot is created, you will get a new Amazon Machine Image (AMI). There are two ways : 1. From the EC2 console By going to Actions → Image → Create Image when selecting your pre-configured instance. 2. Using AWS APIs : For the example, we consider that i-1234567890abcdef0 is the instance we want to clone. And we will name the cloned instance genymotion_snapshot aws ec2 create-image –instance-id i-1234567890abcdef0 –name genymotion_snapshot You get the AMI ID as output : { “ImageId”: “ami-1a2b3c4d” } Keep this as you will use it to create the instance. Usage (i.e. deploy massively) We will create a t2.medium instance from the cloned Android AMI and get its instance ID instance_id=$(aws ec2 run-instances –image-id ami-1a2b3c4d –count 1 –instance-type t2.medium –key-name keyname –security-groups securitygroup –query “Instances[].InstanceId” –output text) If you want to create more than one instance at a time, you can do it by changing the value of –count When the instance is created, it is being automatically started. We need to check that it is in running state before being able to connect to it with adb. state=$(aws ec2 describe-instances –instance-ids $instance_id –query “Reservations[].Instances[].State.Code” –output text) #wait for the device to start, check every second device state while [ $state -ne 16 ]; do state=$(aws ec2 describe-instances –instance-ids $instance_id –query “Reservations[].Instances[].State.Code” –output text) echo -n ‘.’ sleep 1 done Once the instance is started, we get its IP and connect to it with adb ip=$(aws ec2