
ContinuousIntegration

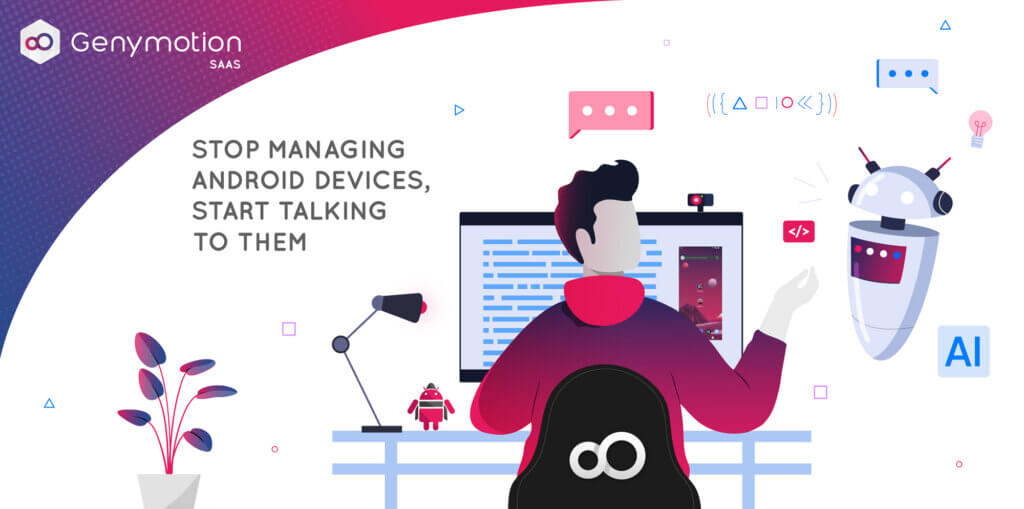
Illustration showing a person using AI skills with Genymotion.
Genymotion, Genymotion Releases

Stop managing Android devices, start talking to them: use Skills for Genymotion

Integrating tools is essential for maximizing development efficiency. With this in mind, we have developed a series of “Skills” dedicated to AI agents , designed to transform the way you interact with Genymotion SaaS (Cloud) and Genymotion Desktop (Local). Reduce Friction, Increase Speed Modern development requires juggling with many tools, which inevitably introduces friction and wasted time. Our main goal is to bring the management of your Genymotion instances within your daily work environment, whether it’s from your IDE or a terminal. Thanks to these new skills, managing your devices becomes a simple conversation. How It Works for the Android Developer Imagine the scenario of an Android developer working on Android Studio or Visual Studio Code (VS Code). Typically, they must switch between the IDE, the Genymotion interface, and the command line to manage their test devices; yet, with our Skills, this complexity disappears. Natural Language Commands, Directly in Your Chat Developers can now interact with their Genymotion devices via the chat window incorporated into their IDE, using natural language requests or simple commands: Unified Management: Local and Cloud Whether your Genymotion instance is local (Genymotion Desktop) or in the cloud (Genymotion SaaS), the AI agent takes care of the routing. No more need to remember specific commands or open separate interfaces: everything is managed from a single place. Advanced Scenario: Integrating a Genymotion device into a web page. For demonstration or documentation purposes, it is often necessary to embed an Android instance directly into a web page. This is typically a task that requires configuration and code generation. Thanks to the Skills, which are aware of our device-web-player SDK, this complexity disappears. You can simply ask: “Create an HTML page with an Android 16 device on the Cloud, using a ‘Dark Mode’ theme for the page.” The Skill will not just execute the command; it will initiate a guided process: The ability to generate code and automate complex deployments through simple natural language significantly speeds up development tasks. Benefits for the User These Skills translate into concrete and immediate advantages: We are convinced that this integration will considerably simplify developers’ daily lives. Installation Setting up Genymotion Skills is designed to be as seamless as running the agents themselves. Whether you’re a terminal power user or exploring the latest AI coding environments, you can get started in seconds: Next Steps We are actively working on improving our skills to not only allow finer control over Android devices, but also to simplify and accelerate the configuration of your Continuous Integration and Continuous Deployment (CI/CD).

Automated Testing, Bitrise, Continuous Integration, Genymotion Cloud, Mobile Testing

Continuous Testing with Genymotion Cloud SaaS now on Bitrise!

We are glad to announce that Genymotion Cloud SaaS is now available to Bitrise users for continuous testing! When it comes to testing mobile apps, especially in a highly Android dominant fragmented mobile market, it becomes challenging to perform quick and efficient tests. Mobile DevOps encourages the use of multiple mobile devices in the Cloud to tackle this challenge. With Genymotion Cloud SaaS, QA engineers can spawn many Android virtual devices in the Cloud in parallel and test at scale. With Bitrise, a Continuous Integration & Delivery platform dedicated to mobile apps, users can use a powerful UI to create workflows easily, which then can build, test and deploy an app and improve efficiency by setting up the whole mobile application dev lifecycle environment. Genymotion Cloud SaaS is now available on Bitrise, so QA engineers can now easily choose the Genymotion Cloud SaaS Android virtual devices to run their tests on them using any testing framework (Espresso, Appium and so on). No need to learn how to use the Genymotion Cloud command-line tool to automate the start/stop of the devices: everything can be handled in the UI.A complete tutorial is available here  

Scroll to Top

Select Product Portal

SaaS Platform

Access to our SaaS solution and use virtual machines in the cloud on any web browsers.

Or

Or

Desktop Platform

Access to manage your Genymotion Desktop licenses, your invoices and account information.

How to get a quote for multiple Business Licenses?

  1. You need a Genymotion Desktop account. If you haven’t one yet, you can create it here.
  2. After creation and activation, or if you already have an account, follow this link.
  3. Add the number of desired licenses to your shopping cart and click “Continue to Billing”
  4. Add a shipping address, or select one if you already created one.
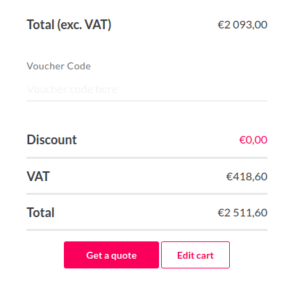
  5.  In the next page, click “Get a quote”:
    Payment details
  6. A quote will be automatically generated in PDF format.

Genymotion Device Image for Cloud providers
- Private Offer -

Genymotion Self-hosted (on-premises)
- Contact Us -

Genymotion SaaS
- Increase Maximum Simultaneous devices -

Genymotion SaaS Enterprise Plan
- Get a Quote -

Genymotion SaaS Premium Plan
- Get a Quote -

Personal Use - Free

Genymotion Desktop for personal use is not suitable for trial or POC: you will not get any assistance and some features will be disabled. If you have already selected “personal use” and wish to get a trial license, please contact our Sales at [email protected].

Technical support is not available with Genymotion Desktop free edition for personal use. For more details, please refer to Genymotion conditions of use (Personal Use).

The following features are not available in personal use mode:

Follow these steps to get Genymotion Desktop and activate personal use mode:

  1. Go to the Download page and get the latest version for your system.
  2. Follow the instructions from Genymotion Desktop quickstart guide to install Genymotion Desktop.
  3. Launch Genymotion and click CREATE to create an account. You should receive an activation email within an hour. If not, make sure to check your spam.
  4. After activating your account, return to Genymotion and log in with your credentials.
  5. Select personal use when prompted.
  6. Read Genymotion Desktop quickstart guide carefully to setup Genymotion for your needs.

Contact Sales
- Premium Plan -

Select a Cloud provider Marketplace