Genymotion Desktop 3.11.0 is out! πŸŽ‰

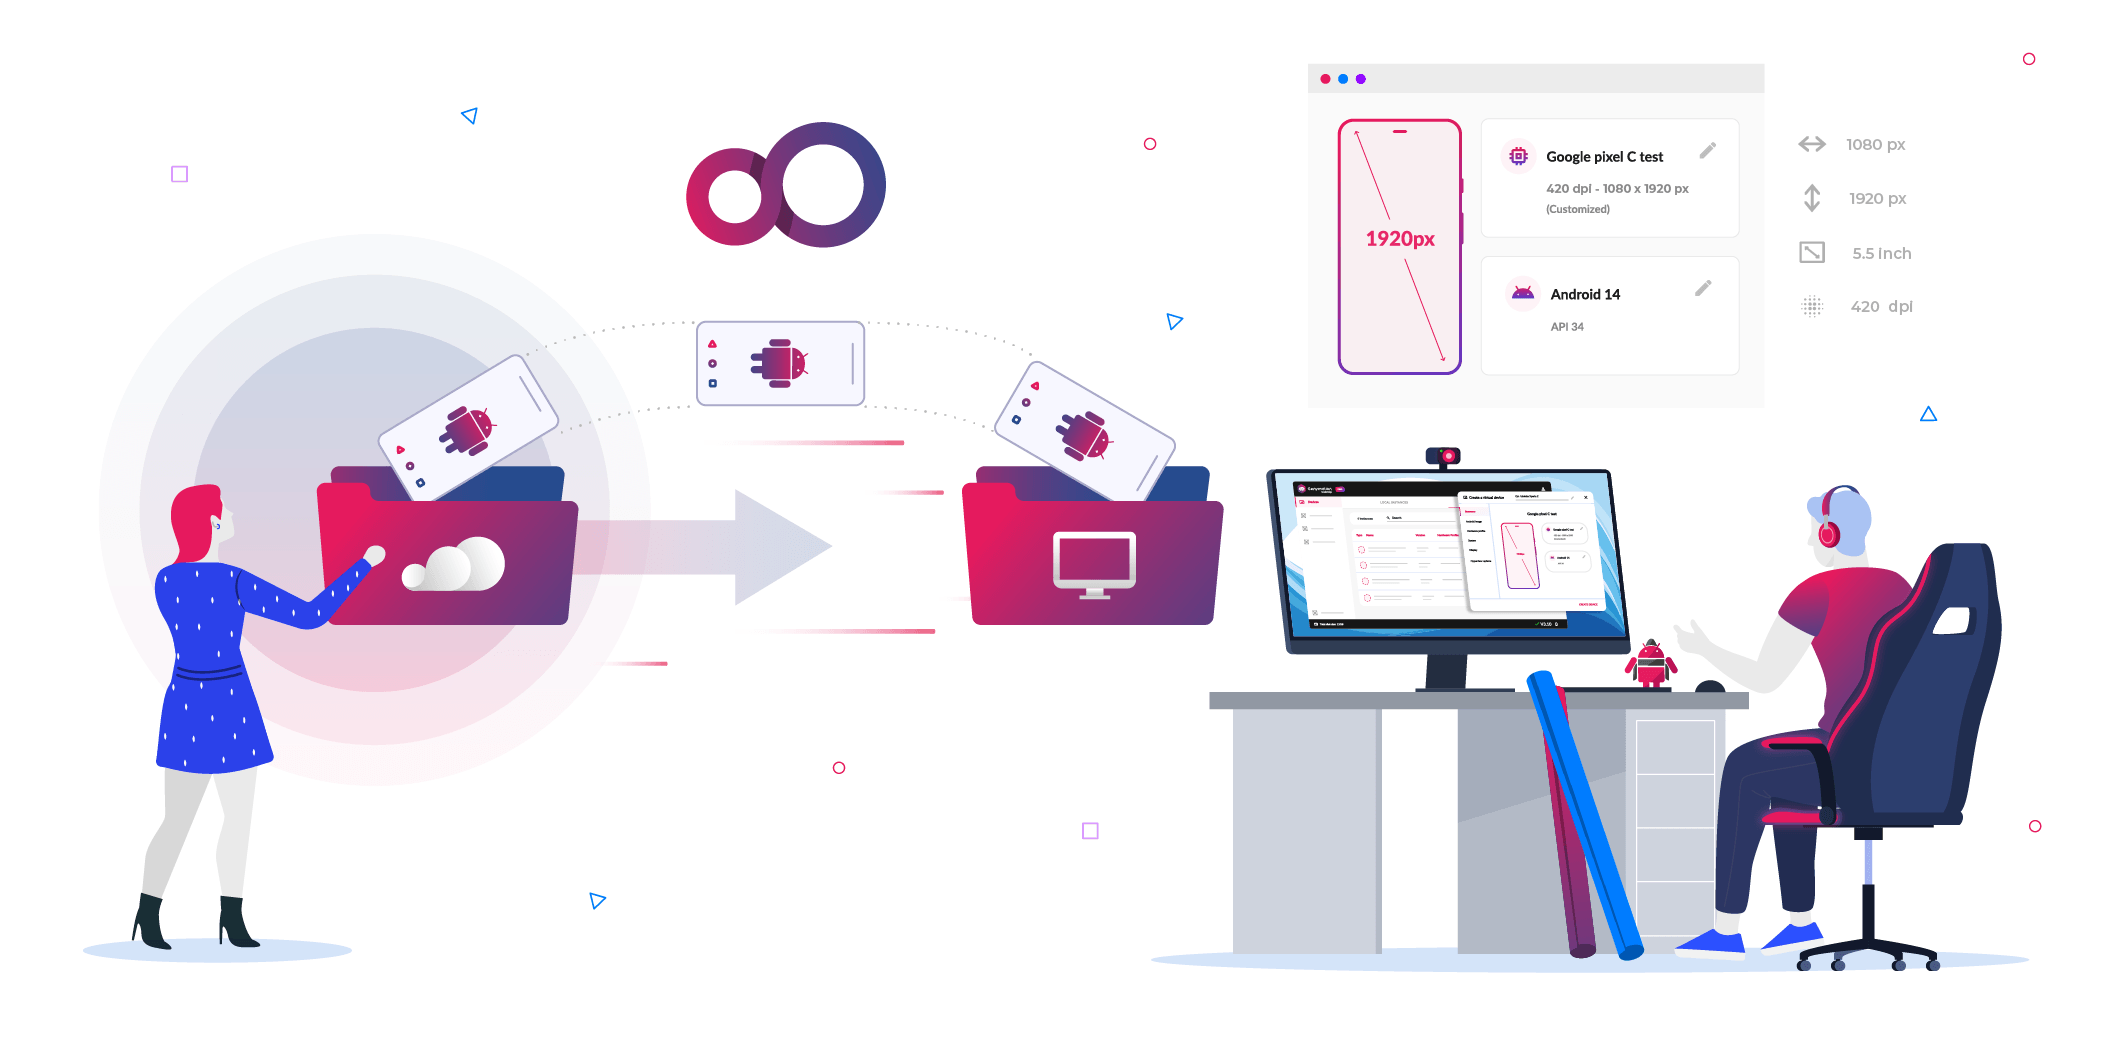
Illustration for new Genymotion Desktop 3.10 release, with new graphical interface.

We just dropped version 3.11, and it’s all about making your hybrid local-and-cloud workflow smoother, cleaner, and a bit smarter. Whether you’re spinning up local devices for quick manual checks or running automated pipelines, this update brings deeper SaaS integration, effortless storage cleanup, and slicker widget tweaks.

Let’s break down what’s new!

✨ What’s New

πŸŒ₯️ Full SaaS Management inside Desktop No need to jump back and forth between your browser and the app anymore. You can now create and delete Genymotion SaaS virtual devices directly inside Genymotion Desktop. Need a cloud device fast? Just spin one up directly from the Android Images or Hardware Profiles pages.

Genymotion Desktop – Local / Cloud creation

πŸ€– GenyShell Remote Connection: Scale Your AI Agents If your AI agent or CLI automation script was working locally, it can now scale up in the cloud! With remote connection support in GenyShell, you can now connect programmatically to Genymotion SaaS virtual devices. Pass commands, drive automation, and let your AI agents run wild across cloud instances seamlessly.

Genymotion Desktop – GenyShell Local / Cloud

🧹 Storage Cleanup Made Easy Orphaned Android images eating up your disk space? We’ve added an easy cleanup tool inside Settings > Storage tab so you can purge leftover images in a single click and keep your local machine running lean.
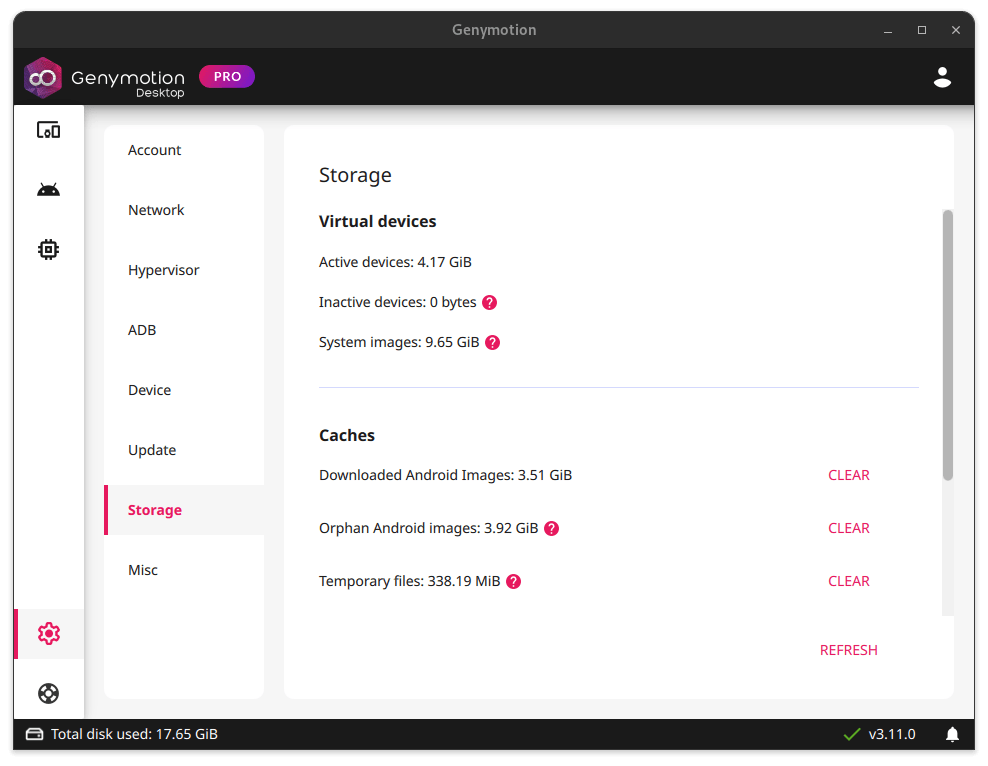
Genymotion Desktop – Storage settings

πŸ”„ Changes & Upgrades

  • Share Hardware Profiles across Cloud & Local: Created a slick hardware profile on Genymotion SaaS? You can now import and use SaaS hardware profiles for your local virtual devices to keep your setups aligned.
  • Widget Visual Upgrades: We’ve given the Capture and Battery widgets a fresh visual makeover.
  • Disk I/O UX Improvements: The Disk I/O widget received a handy UX facelift.
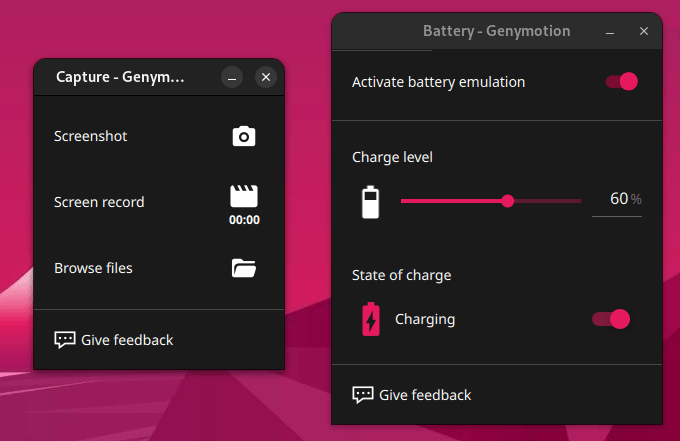
Genymotion Desktop – Capture and Battery widgets

πŸ› Bug Fixes

  • Location Widget: Fixed a bug where the last recorded position didn’t stick around. Your set coordinates will now persist as expected.
  • Media Injection: Solved the issue with annoying black borders showing up in Crop mode when streaming input media smaller than the camera resolution.

Please refer to the release notes.

Ready to test?

Update to Genymotion Desktop 3.11 today, clean out that local storage, and start scaling your local workflowsβ€”and AI agentsβ€”straight into the cloud!

Scroll to Top

Select Product Portal

SaaS Platform

Access to our SaaS solution and use virtual machines in the cloud on any web browsers.

Or

Or

Desktop Platform

Access to manage your Genymotion Desktop licenses, your invoices and account information.

How to get a quote for multiple Business Licenses?

  1. You need a Genymotion Desktop account. If you haven’t one yet, you can create it here.
  2. After creation and activation, or if you already have an account, follow this link.
  3. Add the number of desired licenses to your shopping cart and click “Continue to Billing”
  4. Add a shipping address, or select one if you already created one.
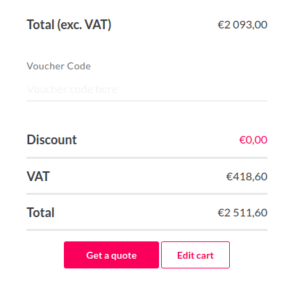
  5. Β In the next page, click “Get a quote”:
    Payment details
  6. A quote will be automatically generated in PDF format.

Genymotion Device Image for Cloud providers
- Private Offer -

Genymotion Self-hosted (on-premises)
- Contact Us -

Genymotion SaaS
- Increase Maximum Simultaneous devices -

Genymotion SaaS Enterprise Plan
- Get a Quote -

Genymotion SaaS Premium Plan
- Get a Quote -

Personal Use - Free

Genymotion Desktop for personal use is not suitable for trial or POC: you will not get any assistance and some features will be disabled. If you have already selected β€œpersonal use” and wish to get a trial license, please contact our Sales at [email protected].

Technical support is not available with Genymotion Desktop free edition for personal use. For more details, please refer to Genymotion conditions of use (Personal Use).

The following features are not available in personal use mode:

Follow these steps to get Genymotion Desktop and activate personal use mode:

  1. Go to the Download page and get the latest version for your system.
  2. Follow the instructions from Genymotion Desktop quickstart guide to install Genymotion Desktop.
  3. Launch Genymotion and click CREATE to create an account. You should receive an activation email within an hour. If not, make sure to check your spam.
  4. After activating your account, return to Genymotion and log in with your credentials.
  5. Select personal use when prompted.
  6. Read Genymotion Desktop quickstart guide carefully to setup Genymotion for your needs.

Contact Sales
- Premium Plan -

Select a Cloud provider Marketplace